Did you know that the longevity of your car engine depends on its oil filter and routine maintenance? Ignoring or leaving it too long can often lead to frequent visits to service centers and costly repair bills. That is why it is crucial to understand this critical component’s power over our engine’s life span.
Keep reading as we explore how often to change the oil filter in a car.
What Does an Oil Filter Do?

As the name suggests, the primary purpose of oil filters is to purify your car engine’s oil. As the fuel burns inside the engine, it produces harmful byproducts like chemical toxins, ash, and even sludge. If these pollutants are unchecked, they circulate within the engine’s oil and slowly destroy expensive engine parts.
To avoid this from happening, it becomes crucial for vehicle owners to understand that changing oil filters is an essential part of overall car maintenance.
How Often to Change Oil Filter in Car

Whether your car has a modern or traditional engine, car manufacturers recommend changing the oil and its filters every 5000 miles. Other factors must be considered when deciding how often to change oil filters in a car. Some of the critical factors that help in determining oil change interval include:
- Your vehicle’s age
- The road condition
- Weather conditions
- Mileage
- Driving habits (including driving style and driving conditions)
- The oil type being used (i.e., whether you have been using regular or synthetic motor oil in your car)
Common Issues to Watch Out For
Since the engine oil filter is usually under the car, it doesn’t let you visually inspect the car filter to see whether you need a change or if there is any internal engine damage. However, common symptoms that help in identifying a clogged or old oil filter include the following:
- Black and dirty exhausts
- Lack of engine lubrication
- Lack of oil pressure
- Engine sputtering
- Engine damage or unanticipated wear and tear of the engine
- Queer metallic sounds coming from the car’s engine
- The smell of burning oil coming from the car
- Illuminated or engine service light
A Step-By-Step Guide to Learning How to Change an Oil Filter

Learning how to change an oil filter by yourself isn’t so tough. In fact, it’s one of the most manageable car parts for self-service. Today, a pool of resources can be found online, including YouTube tutorials to help you learn the correct technique. To help you get started, we’ve created a step-by-step set of instructions to quickly learn to change your car’s oil filter, which helps increase the engine life.
Step 1: Locate the Filter and warm up the car’s engine.
Before you begin to change your car’s oil filter, the first thing that you need to do is locate your oil filter. While the location of the oil filter varies among different vehicles, it is usually underneath the car and is shielded mainly by an undertray.
Once you are sure about the location of your car’s oil filter, move on to running the car’s engine for a few minutes. Doing so will automatically release heat which helps contaminants circulate in the warm oil instead of getting stuck in the oil pump.
Thus, no harmful particles will be left behind to contaminate when you drain the oil and replace it with fresh engine oil. Additionally, warm oil tends to be thicker than cold oil – thus, warming the car’s engine will help it drain faster.
Step 2: Prep to change the oil filter.
Since changing the oil filter involves coming in contact with contaminants and even harmful chemical toxins thus, it is essential to prepare for it beforehand. To do so, get your tools ready and put on a set of protective gloves. Some of the key tools required to change your car’s oil filter include:
- Oil filter
- Oil filter wrench
- A funnel
- A small bucket or a drip tray (to be placed under the oil plug so it can collect the old oil as it drains)
- A pair of sturdy protective gloves
Step 3: Draining out the old engine oil.
This is undoubtedly one of the most crucial steps in learning how to change the oil filter in a car. To do so, take the oil filter wrench and loosen up the sump plug. Remove it by hand once you have drained the old engine oil into the bucket or drip tray, and re-tighten the plug.
Step 4: Replacing the car’s oil filter
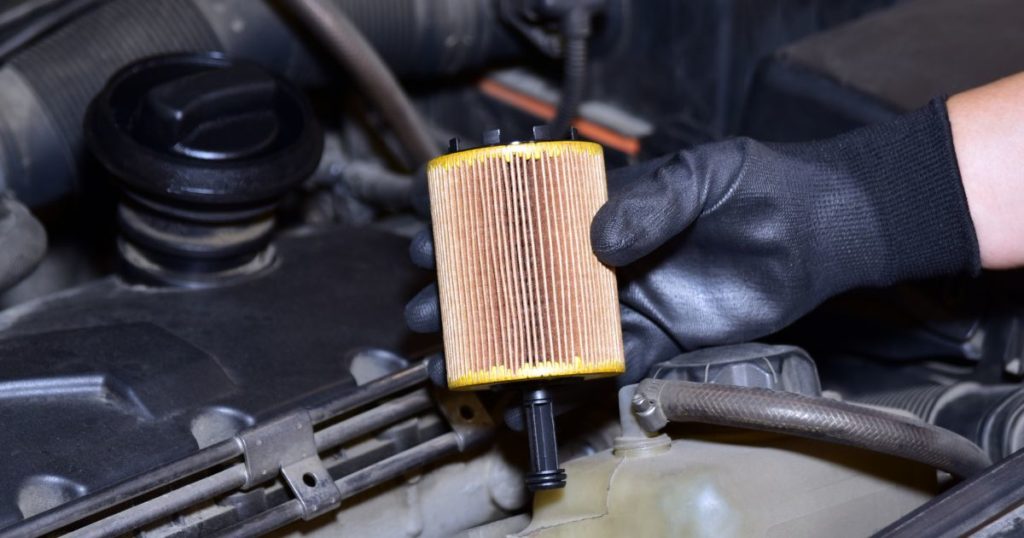
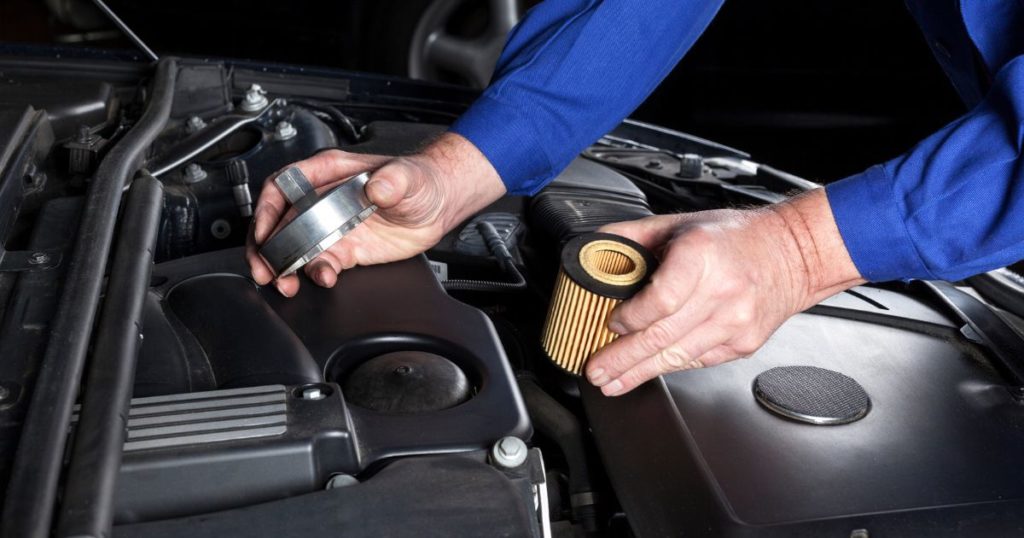
Once you are done draining the old engine oil, retake the wrench and remove the old oil filter. Now, lubricate the new filter by properly coating the seal with some fresh engine oil. Put the oil filter back in its place and secure or tighten it correctly.
Step 5: Replacing the old engine oil
Replacing the car’s oil filter is not enough to ensure the longevity of your car’s engine. It is vital to replace the old engine oil as well. To change the engine oil, open the car’s bonnet and replace the engine oil.
Once you are done, run the car’s engine for a few minutes. This helps in ensuring that there aren’t any possible leaks. However, if you spot a leak, it’s best to turn off the engine immediately and seek professional assistance to correct the problem. Always double-check the oil level at the end before you drive the car again.
Final Thoughts
Remember! With the exception of electric cars, all other vehicles require you to change their oil and oil filters periodically. Having a sound knowledge of the oil change frequency and learning how often to change oil filter in car helps in vehicle maintenance and protects against frequent visits to auto service centers and costly bills. And while you are at it, don’t forget to dispose of the old filter and oil at a recycling facility.


